Testing Your Coolant Temp Sensor with a Multimeter
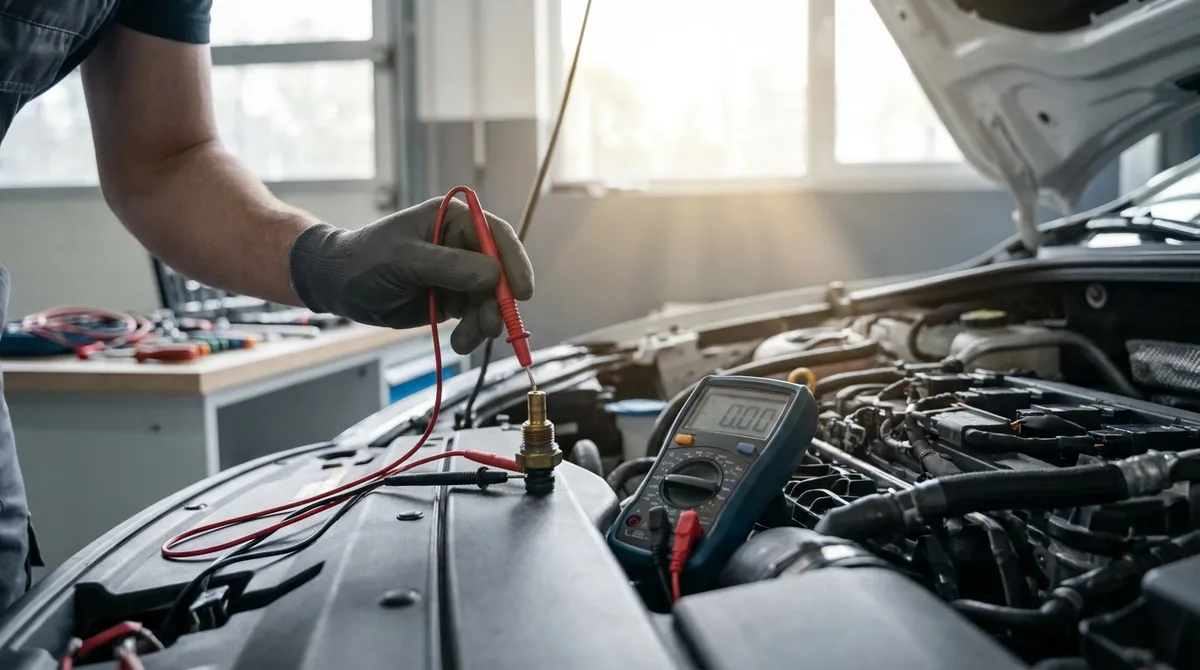
If your engine’s running a little rough, burning more gas than usual, or the cooling fan isn’t kicking on when it should, a faulty coolant temperature sensor might be to blame. This little sensor plays a big role in how your engine’s computer manages everything from fuel delivery to fan operation. Before you start throwing parts at the problem, a simple multimeter test can tell you if the sensor is doing its job.
What a Coolant Temp Sensor Does
Think of the coolant temperature sensor as the engine’s thermometer. It’s usually a thermistor, which means its electrical resistance changes with temperature. As the coolant gets hotter, the sensor’s resistance typically goes down. The engine’s computer (sometimes called the ECU or PCM) reads this resistance and converts it into a temperature reading.
This temperature data is critical. The computer uses it to:
- Adjust the fuel-air mixture (a cold engine needs more fuel).
- Control the cooling fan operation.
- Manage ignition timing.
- Display the temperature on your dash gauge.
If this sensor is sending bad info, your engine might think it’s always cold (leading to rich fuel mixtures, poor gas mileage, a high idle and hard starting) or always hot (which can make the cooling fan run constantly). On many cars a sensor stuck reading “cold” can also keep the fan from switching on when it should — see radiator fan not working for the other causes. A bad sensor can also trigger a Check Engine Light with coolant-temperature codes, including P0128, which is just as often a stuck-open thermostat.
Getting Ready to Test
Before you grab your tools, make sure the engine is completely cool. A hot cooling system is under pressure, and hot coolant can cause serious burns — never open the radiator or reservoir cap, or remove the sensor, on a warm engine.
Here’s what you’ll need:
- Digital Multimeter: One that can measure resistance (ohms, Ω).
- Service Manual: This is crucial. It will have the specific resistance values for your car’s sensor at different temperatures. Without it, you’re just guessing.
- Basic Hand Tools: To disconnect the sensor’s electrical connector, maybe a wrench if you need to remove the sensor itself.
- Container of Water & Thermometer: (Optional, but recommended for a thorough test).
Locate the sensor: It’s usually screwed into the engine block, cylinder head, or near the thermostat housing. The engine-computer sensor usually has a two-pin connector. Some engines also have a separate single-wire sender for the dash gauge, or a combined sensor with three or four pins, so confirm which one you’re testing in the service manual.
The Multimeter Test: Resistance Check
This test measures the sensor’s internal resistance.
- Disconnect the Electrical Connector: Carefully unclip or unplug the connector from the sensor. Inspect the connector and sensor terminals for corrosion or damage. Clean if necessary.
- Set Your Multimeter: Turn the dial to the ohms (Ω) setting. Start with a range like 20kΩ (20,000 ohms) if your meter isn’t auto-ranging.
- Connect the Leads: Touch the multimeter’s probes to the two terminals on a two-pin coolant temperature sensor. It doesn’t matter which probe goes to which terminal. On a three- or four-pin sensor, use the pin assignments in the service manual.
- Read the Resistance: Note the reading on your multimeter.
- Compare to Specs: Now, check your service manual. It will list a resistance value (or a range) for a specific temperature, usually ambient or around 68-77°F (20-25°C). Does your reading fall within that range? As a rough idea only, many sensors read a few thousand ohms at room temperature and a few hundred ohms at operating temperature, but values vary widely by manufacturer.
For a more thorough test (if you suspect intermittent issues):
If you want to see how the sensor reacts to temperature changes, you can carefully remove the sensor from a cold engine (be prepared for some coolant to leak out, so have a drain pan ready). Coolant is toxic and tastes sweet to pets, so clean up spills right away.
- Suspend the sensor in a pot of water so only the tip is submerged — keep the electrical terminals dry and don’t let the sensor rest on the bottom of the pot.
- Insert a thermometer into the water next to the sensor.
- Heat the water slowly, taking resistance readings with your multimeter at several different temperatures (e.g., 70°F, 100°F, 150°F, 200°F). Use clip-on leads and heat-resistant gloves; the water and sensor will be hot enough to burn.
- Compare these readings to the resistance-temperature chart in your service manual. The resistance should decrease smoothly as the temperature rises.
When you reinstall the sensor (or a new one), use a new sealing washer or thread sealant as the manual specifies, top up with the correct coolant, and bleed air from the cooling system. Trapped air can cause overheating and false temperature readings.
What Your Readings Tell You
- Reading is within spec: If the resistance reading matches your service manual’s specifications for the current temperature, the sensor itself is likely good. The problem might be elsewhere, such as in the wiring harness, the electrical connector, or even the engine computer. You might need to consult the MECH AI database for specific diagnostic steps related to any codes you’re seeing.
- Reading is way off or open circuit (OL/infinity): If your multimeter shows “OL” (over limit) or a very high resistance when it should be low, or vice-versa, the sensor is bad. It’s either internally broken or shorted.
- Reading is inconsistent or jumpy: If the resistance jumps around wildly when the sensor is at a stable temperature, or doesn’t change smoothly with temperature, it’s failing.
If the Sensor Tests Good: Check the Wiring
Most engine computers feed the sensor a reference voltage of about 5 volts. With the sensor unplugged and the ignition on (engine off), measure between the two connector terminals on the harness side. If the reference voltage is missing, look for a broken wire, a corroded connector or a bad ground before suspecting the engine computer. A wiring diagram also lets you check each wire for continuity back to the computer and for a short to ground.
If your coolant temperature sensor fails the resistance test, replacing it is usually a straightforward job. If the sensor and wiring test good but your symptoms persist, look at other cooling system components such as the thermostat. For more specific guidance tailored to your vehicle, the AI Mechanic can help you sort through the possibilities.