Coolant Leak Near Engine: How to Find the Source
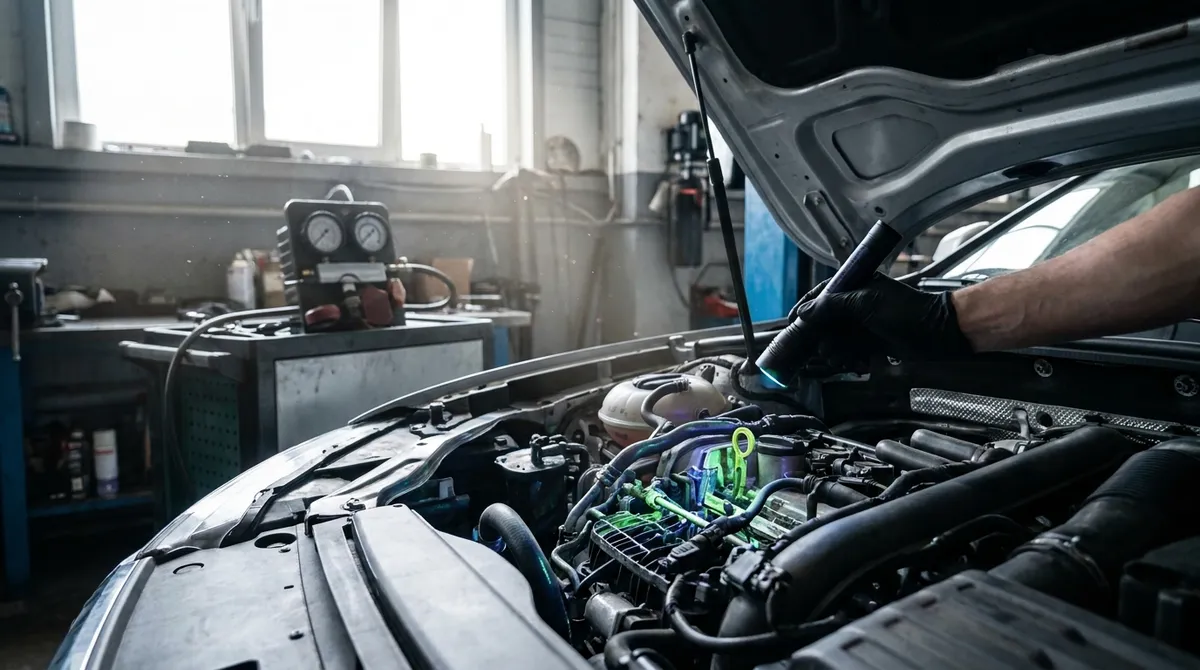
A coolant leak isn’t just a messy nuisance; it’s a serious problem that can lead to your engine overheating and causing major damage. If you’re seeing green, pink, or orange puddles under your car, or smelling something sweet, it’s time to track down the source before a small drip becomes a big headache.
Start with the Obvious: Hoses, Radiator, and Water Pump
When you’ve got coolant disappearing, the first places to check are the parts that move the fluid around or hold it. Most leaks start small, so look closely.
Here’s where to begin your hunt:
- Hoses: The rubber hoses under the hood get old, hard, and brittle. Check the upper and lower radiator hoses, as well as the smaller heater hoses that go to the firewall. Look for cracks, bulges, or soft spots. Don’t forget the clamps; sometimes they just loosen up or rust out. A common leak point is right where the hose meets a fitting.
- Radiator: The radiator itself can spring a leak. Check the fins for bent or corroded areas, and pay close attention to the plastic end tanks (if your radiator has them) where they crimp to the metal core. These plastic tanks can crack with age and heat cycles.
- Water Pump: This part pushes coolant through the engine. Most water pumps have a “weep hole” designed to drip coolant when the internal seal starts to fail. If you see coolant coming from the bottom of the pump, or if there’s a crusty buildup around it, the pump is likely on its way out. You might also notice a grinding or squealing noise if the bearings are failing.
- Reservoir/Overflow Tank: This plastic tank holds extra coolant. Check it for cracks, especially around the neck where the cap twists on, or along the seams. Make sure the cap is sealing properly.
For more general advice on what your car is trying to tell you, you can always check our symptom guides hub.
Digging Deeper: Less Obvious Culprits and Pressure Testing
If the easy spots are dry, you’ll need to look at components that are a bit harder to see or reach. Some leaks only show up when the system is under pressure or hot.
- Thermostat Housing: The thermostat housing is where the thermostat sits, controlling coolant flow. It’s often sealed with a gasket or O-ring that can degrade over time, leading to leaks. Look for crusty coolant residue around the housing.
- Heater Core: This mini-radiator is usually tucked behind your dashboard. If it leaks, you might smell a sweet odor inside the cabin, notice a greasy film on the inside of your windshield, or even find a damp spot on your passenger floorboard. This isn’t a fun repair, as it often means tearing out the dash.
- Engine Block or Head Gasket: These are the big ones. A leak from the engine block itself (like a freeze plug) or a failing head gasket can be serious. Signs of a head gasket leak include white smoke from the exhaust, coolant mixing with oil (looks like chocolate milk on the dipstick), or oil mixing with coolant (slimy residue in the coolant reservoir). These issues usually require professional help.
- Pressure Tester: This is a mechanic’s best friend for finding stubborn leaks. A pressure tester attaches to your radiator or coolant reservoir neck and lets you manually pump the cooling system up to its normal operating pressure (check your car’s specs, usually 15-18 psi). With the system pressurized but the engine cold, you can often spot drips or sprays that wouldn’t show up otherwise. You can rent these tools from most auto parts stores.
Sometimes, a leak can be hard to spot until the engine is warm and fully pressurized. If you’re still scratching your head, the MECH AI app can help you narrow down possibilities for your specific vehicle in our fix database.
Pinpointing the Leak: Tools and Techniques
Once you’ve got an idea of the general area, it’s time to get specific.
- Visual Inspection (Cold Engine): Always start with a cold engine. Coolant can spray or drip onto hot components and evaporate quickly, leaving no trace. Look for streaks, stains, or crusty residue. A flashlight is your friend, even in daylight.
- UV Dye Kit: These kits are cheap and effective. You pour a special fluorescent dye into your coolant, run the engine for a bit, and then use a UV light (often included in the kit) to scan for glowing green or yellow leaks. This is especially good for tiny, hard-to-see drips.
- Cardboard Test: If you suspect a leak but can’t see it, park your car over a large piece of clean cardboard overnight. In the morning, any drips will be clearly visible, and you can often tell the general location by where the puddle forms.
- Mirror and Borescope: For really tight spots, a small inspection mirror or a borescope (a tiny camera on a flexible cable) can help you see behind components or into crevices.
Remember that a burning smell could also be a clue, as coolant hitting hot exhaust components can produce a sweet, steamy odor. If you’ve ever wondered what’s that burning smell, coolant is definitely one of the possibilities.
Finding a coolant leak takes patience and a good eye. Once you’ve identified the source, you can decide if it’s a simple hose clamp you can fix yourself or something more involved that requires a trip to the shop. Either way, getting it fixed quickly will save you bigger headaches down the road.