Brake Pads: When to DIY and When to Call the Shop
Worn brake pads are a fact of life for any vehicle. It’s common maintenance, and for many, a job they’ve considered tackling in the driveway. But what looks like a simple pad swap can sometimes uncover bigger problems, turning a quick fix into a serious repair that’s best left to the pros.
When It’s a 1-Hour Job (Usually)
A straightforward brake pad replacement is exactly that: replacing the pads because they’re worn out. This is the ideal scenario for a DIY job.
Here’s when you’re likely looking at a simple pad swap:
- Squealing Noise: This is often the wear indicator telling you the pads are getting thin. It’s a high-pitched squeal that usually goes away when you apply the brakes.
- Light Grinding (Early Stage): If you’ve ignored the squeal, you might start hearing a light grinding sound. This means the pads are very thin, and the backing plate is starting to rub the rotor. Catching it here means your rotors might still be salvageable.
- No Other Symptoms: The key here is only worn pads.
- No pulsing or vibrating through the brake pedal.
- No pulling to one side when you brake.
- No visible leaks around the calipers or brake lines.
- Brake fluid reservoir level looks normal (it might be slightly lower as pads wear, but not drastically).
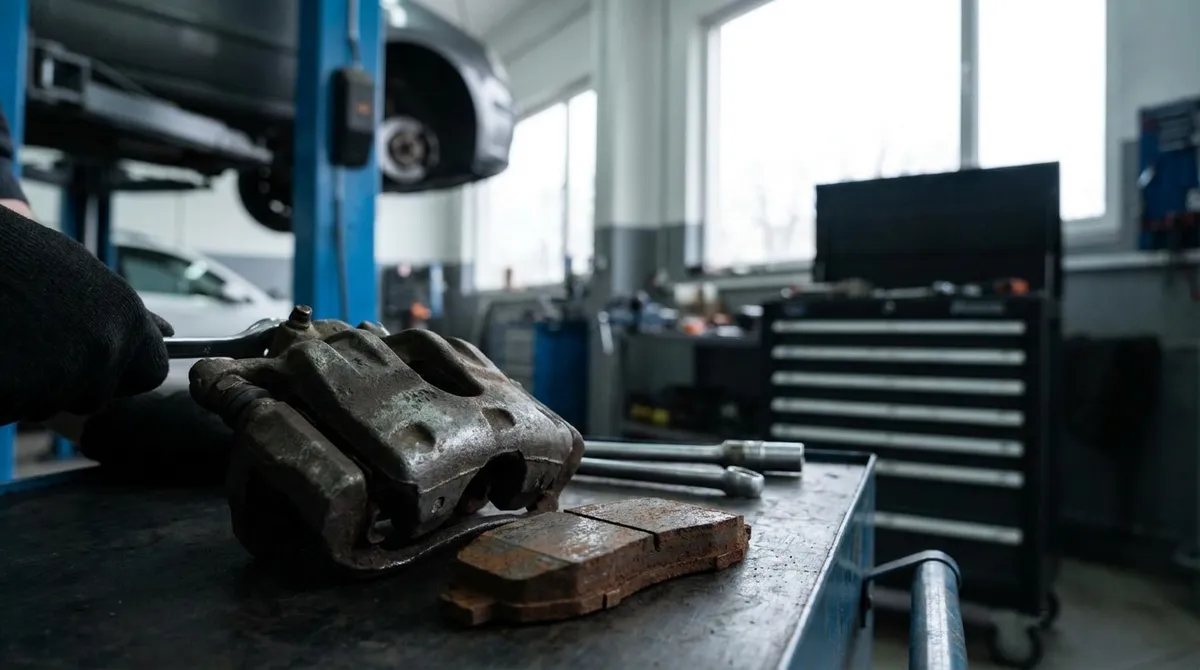
- Rotor Condition: When you take the wheel off, inspect the rotor. It should be relatively smooth, with no deep grooves or scoring. You might feel a small lip on the edge, which is normal, but if it’s significant, new rotors are probably in order.
- Calipers and Slide Pins: The caliper should move freely on its slide pins. If they’re seized, the pads won’t wear evenly, and you’ll need to service or replace the caliper.
If all you’re seeing are thin pads and rotors that look good, you’ve got a good shot at a quick DIY job.
Signs You Need More Than Just Pads
Sometimes, what starts as a pad job quickly turns into something more involved. These are the red flags that suggest you need more than just new pads, and potentially a trip to the shop.
- Pulsing or Vibrating Pedal: This almost always means you have warped rotors. You can’t fix warped rotors; they need to be replaced or machined (if they have enough material left, which is rare these days). Replacing rotors adds cost, time, and requires a bit more care.
- Deep Grinding or Metal-on-Metal Noise: If it sounds like two pieces of metal are fighting it out, your pads are gone, and the backing plates are eating into your rotors. This means new rotors are a must, and there’s a good chance your calipers might have taken a beating too.
- Brake Fluid Leaks: Any visible brake fluid leaking from a caliper, brake line, or around the master cylinder is a serious safety issue. This isn’t a pad job; it’s a repair that requires bleeding the brake system, which can be tricky without the right tools and knowledge.
- Vehicle Pulls to One Side When Braking: This usually points to an issue with a caliper not working correctly (either seized or not releasing), or uneven pad wear. It’s a diagnostic job, not just a swap.
- Spongy or Low Brake Pedal: If the pedal feels soft, goes to the floor, or doesn’t feel firm, you likely have air in the system, a fluid leak, or a failing master cylinder. This is a critical safety issue that needs professional attention.
- ABS Light or Brake Warning Light On: These lights indicate an electronic or hydraulic system fault. While sometimes related to low fluid from worn pads, they often point to sensor issues, ABS module problems, or other complex electrical faults.
- Damaged Brake Lines or Hoses: If you see cracks, bulges, or corrosion on any brake lines or hoses, do not drive the vehicle. This is a severe safety hazard requiring immediate repair by a qualified technician.
- Seized Caliper: If a caliper piston won’t retract, or the slide pins are rusted solid, you’ll need to replace or rebuild the caliper. This involves opening the hydraulic system and bleeding the brakes.
Tools, Time, and Know-How
Even for a “simple” pad job, you need the right tools and a basic understanding of how brakes work.
Basic Tools for a Pad Swap:
- Jack and sturdy jack stands (never work under a car supported only by a jack).
- Lug wrench.
- Socket set and ratchets.
- C-clamp or a dedicated caliper compressor tool.
- Brake cleaner.
- Gloves (brake dust is nasty stuff).
- Torque wrench (critical for lug nuts and caliper bolts).
- Wire brush for cleaning caliper brackets.
If you don’t have these tools, or aren’t comfortable using them safely, that’s a good reason to take it to a shop. Safety is paramount when working on brakes. Getting the torque specs right for lug nuts and caliper bolts isn’t just a suggestion; it’s how you keep your wheels on and your brakes working.
Some vehicles also have electronic parking brakes that require a scan tool to retract the caliper piston before you can change the pads. Trying to force these can damage the system, leading to a much more expensive repair.
When to Call the Shop
It boils down to this: if you’re only replacing pads because they’re worn, and everything else looks good, go for it. But if you encounter any of the “more than just pads” symptoms, or if you don’t have the right tools, time, or confidence, it’s always best to call a professional.
Brakes are the most important safety system on your vehicle. There’s no shame in admitting a job is beyond your current skill set or available equipment. A good mechanic will diagnose the full problem and ensure your vehicle stops safely every time. For help diagnosing those tricky brake issues, the MECH AI app can walk you through common symptoms and potential causes before you even pick up a wrench.