How to Test an Ignition Coil Pack for Proper Spark
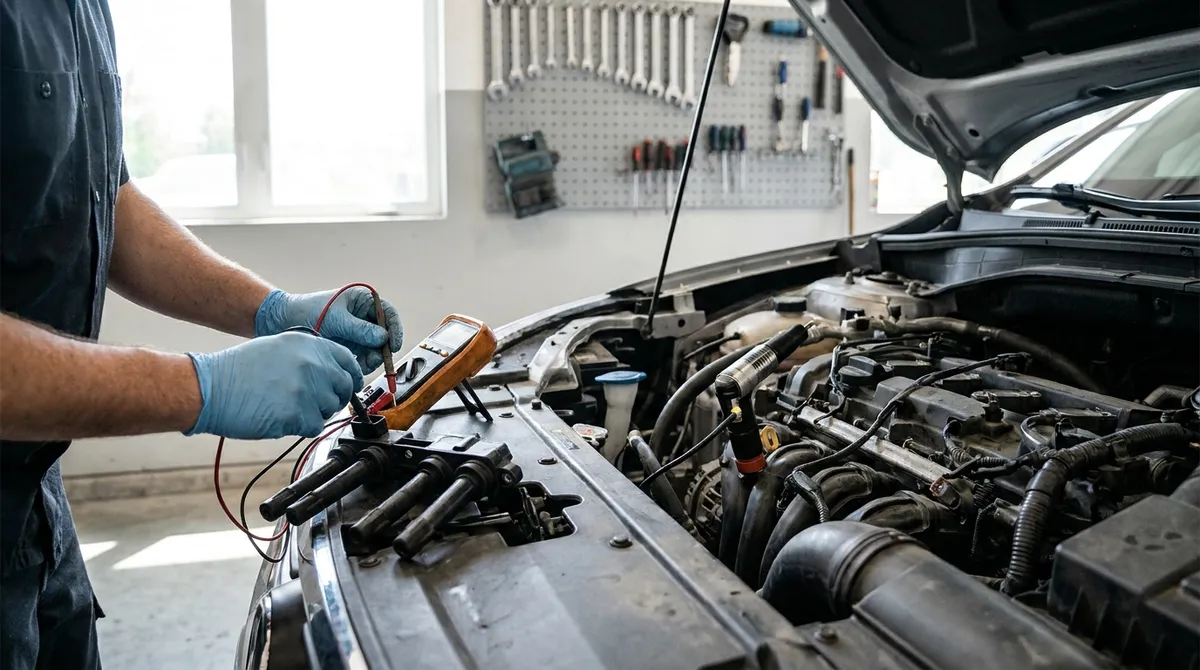
A misfiring engine is a drag, literally. When your engine stumbles, shakes, or loses power, a bad ignition coil pack is often the culprit. These coils are responsible for taking your car’s low battery voltage and stepping it up to the thousands of volts needed to jump the spark plug gap. If a coil isn’t doing its job, that cylinder isn’t firing, and your engine lets you know.
What an Ignition Coil Does and Why It Fails
Think of an ignition coil as a small transformer. It takes the 12 volts from your car’s electrical system and turns it into a high-voltage pulse – sometimes 20,000 volts or more – that fires the spark plug. Without that spark, the air-fuel mixture in the cylinder won’t ignite, leading to a misfire.
Common symptoms of a failing ignition coil include a rough idle, engine hesitation, reduced fuel economy, and a general lack of power. You might also notice your check engine light on or flashing, often accompanied by specific misfire codes (like P0301 for cylinder 1, P0302 for cylinder 2, and so on). Coils can fail due to age, heat, vibration, or sometimes just a bad batch from the factory. Internal shorts, cracks in the housing, or insulation breakdown are common problems. If you’re experiencing these kinds of issues, it’s worth checking our symptom guides for more context.
Visual Inspection: The First Step
Before you grab any tools, give the coil pack a good once-over. This can often tell you a lot without even touching a multimeter.
Here’s what to look for:
- Cracks or Carbon Tracking: Inspect the coil’s housing, especially around the high-voltage output tower. Cracks can allow spark to escape to ground instead of going to the spark plug. Carbon tracking looks like a black, sooty line and is a clear sign that spark is arcing where it shouldn’t.
- Corrosion: Check the electrical connectors for rust or green/white corrosion. This can prevent a good electrical connection, starving the coil of power or control signals.
- Oil or Coolant Leaks: If you see oil or coolant on or around the coil, it might be compromising the coil’s integrity or the spark plug boot. Leaks from the valve cover gasket are a common culprit.
- Damaged Wires or Boots: Make sure the wiring harness clips securely to the coil. The spark plug boot (if present) should be pliable and free of tears or punctures.
If you spot any obvious physical damage, that coil is likely toast and needs replacing.
Testing for Spark: The Spark Tester Method
This is the most direct way to see if a coil is producing spark. You’ll need a spark tester, which is a simple tool that lets you observe the spark without having to ground a live plug. Always use a spark tester, not a bare spark plug, to avoid damaging the ignition system or shocking yourself.
Here’s how to do it:
- Safety First: Disconnect the fuel pump fuse or relay to prevent fuel from being injected into the cylinders during the test. You don’t want to flood the engine or create a fire hazard.
- Remove the Coil: Disconnect the electrical connector from the suspect coil and remove it from its mounting, usually by unbolting it and pulling it straight up from the spark plug.
- Attach Spark Tester: Connect the spark tester to the coil’s output. Then, ground the spark tester’s clip to a good, unpainted metal part of the engine or chassis.
- Reconnect Electrical: Plug the coil’s electrical connector back in.
- Crank the Engine: Keep hands and tools clear of the coil and tester, then have a helper crank the engine for a few seconds while you observe the spark tester. Never crank with a coil disconnected from both the plug and a grounded tester, as the open spark can damage the coil or engine computer.
- Observe Spark:
- Good Spark: You should see a strong, consistent, blue-white spark jumping the gap in the tester.
- Weak or No Spark: A weak, yellow, or intermittent spark, or no spark at all, indicates a problem with the coil.
Once everything is reinstalled, you can confirm the diagnosis with a swap test: trade the suspect coil with one from a cylinder that isn’t misfiring, then drive or idle until the misfire returns. If the misfire code moves to the new cylinder (say, from P0302 to P0303), the coil is the problem. If it stays put, look at the spark plug, injector, or compression on that cylinder instead.
Testing Resistance: The Multimeter Method
For a more in-depth check, you can test the coil’s internal resistance using a multimeter. This method checks the primary and secondary windings of the coil for open circuits or shorts. Note: This test is not foolproof, as a coil can sometimes fail under load (when hot) but test fine when cold. You’ll need your vehicle’s specific resistance specifications from the factory service manual. Also check how many wires the coil connector has: many modern coil-on-plug units with three or more pins have a built-in driver (igniter), and their windings can’t be measured meaningfully with an ohmmeter. For those, follow the manufacturer’s wiring diagram and test procedure, or rely on the spark and swap tests.
- Disconnect Power: Ensure the coil is completely disconnected from the vehicle’s electrical system.
- Primary Winding Test:
- Set your multimeter to the ohms (Ω) setting, usually in the 200Ω range.
- Touch the meter leads to the two low-voltage terminals on the coil’s electrical connector. These are the pins where the wiring harness connects.
- Compare the reading to your vehicle’s specifications. Primary resistance is very low, typically around 0.4 to 2 ohms. An “OL” (over limit) reading means the winding is open; a reading near zero can mean it’s shorted.
- Secondary Winding Test:
- Set your multimeter to a higher ohms range, usually 20kΩ or 20,000Ω.
- For coils with a tower, place one lead inside the high-voltage output tower and the other lead on one of the primary terminals. For coil-on-plug designs, you might need to test between the high-voltage output (where the spark plug boot connects) and a primary terminal, or between the two high-voltage outputs if it’s a waste-spark design.
- Secondary resistance is much higher, often several thousand ohms (roughly 5,000 to 20,000 ohms on many coils). Again, compare to specs. An “OL” means an open winding.
If your readings are outside the manufacturer’s specified range, the coil is likely faulty.
What to Do Next
If you’ve identified a bad ignition coil, replacing it is usually a straightforward job. Make sure to get the correct part for your specific vehicle. Sometimes, it’s wise to replace all coils if they are original and one has failed, as the others might not be far behind. Also, consider replacing the spark plugs at the same time, especially if they haven’t been changed in a while, as worn plugs can put extra strain on coils.
If you’ve gone through these steps and are still facing misfires or other engine issues, it might be time to consider other possibilities, such as fuel delivery problems, compression issues, or even a problem with the engine control unit. For more complex diagnostics, or if you’re not comfortable tackling the repair yourself, it’s always smart to take your vehicle to a trusted shop. The MECH AI database can also help you research common fixes for your specific vehicle.